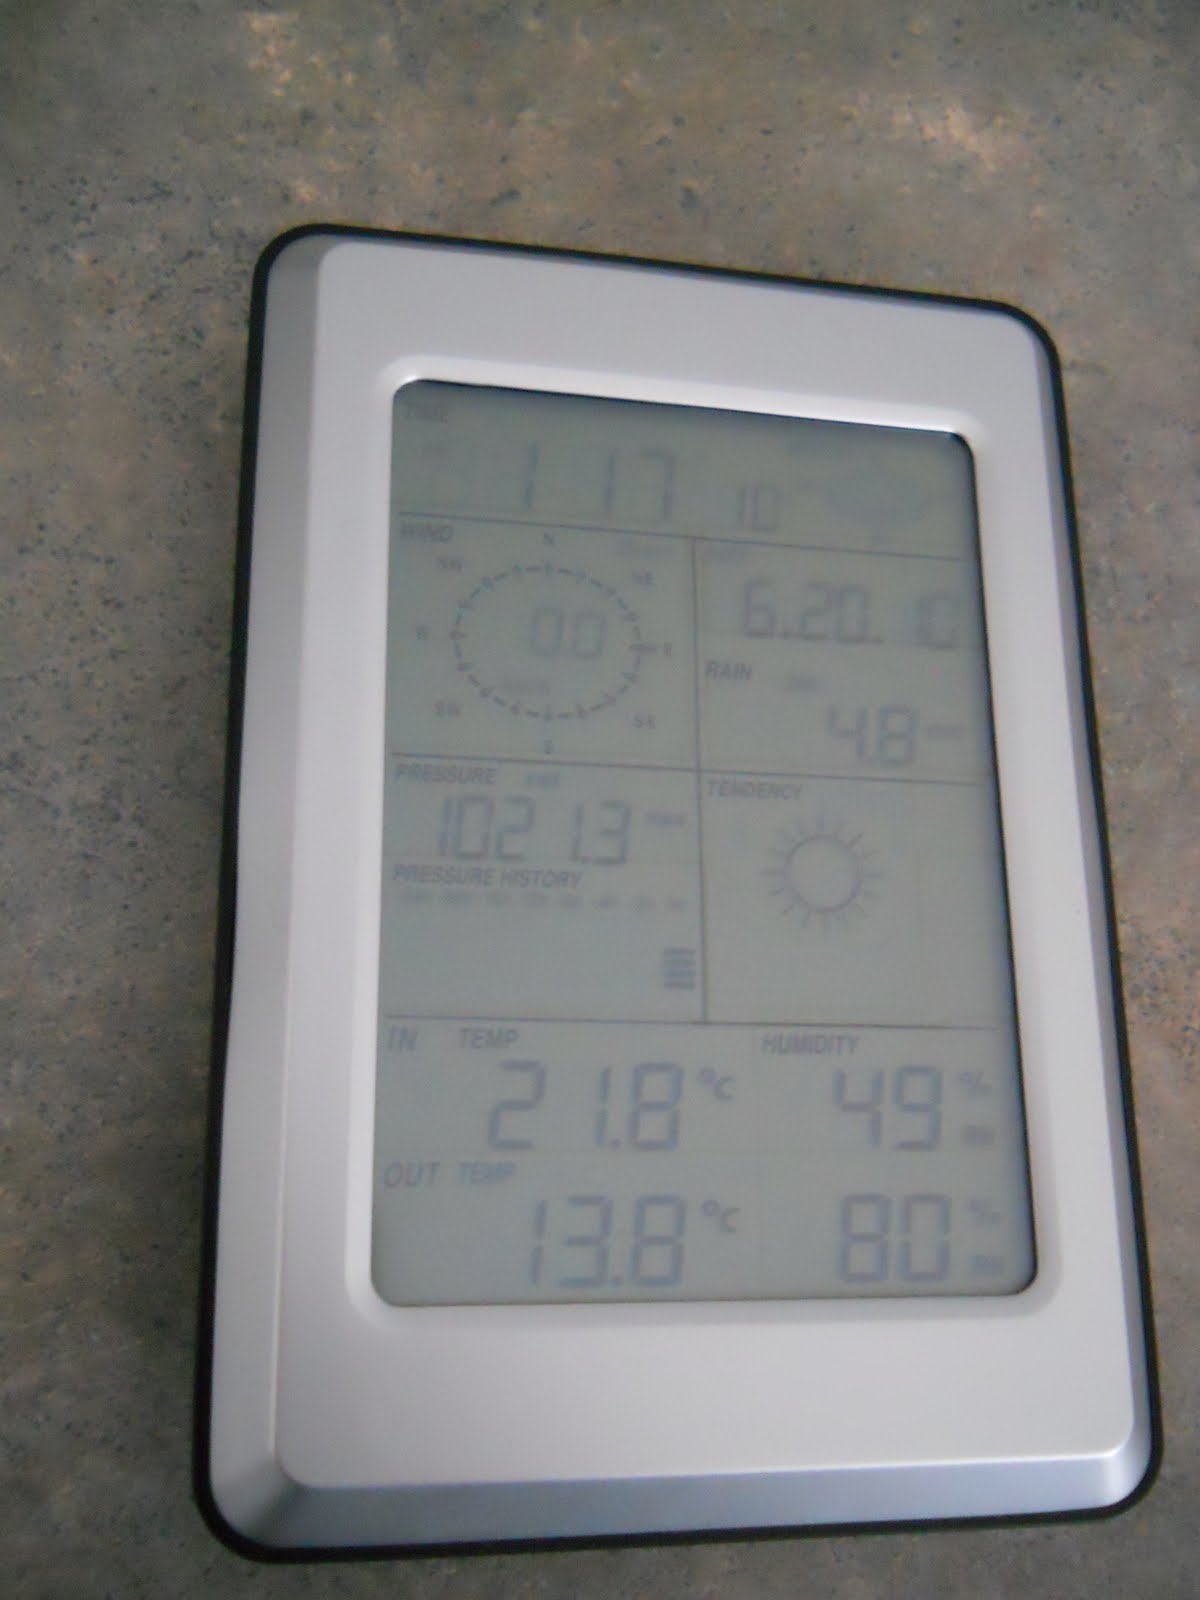
Hi, been awhile since i have posted anything, but cant do much if the winter weather isnt kind...so, here i was thinking about the weather and decided to get a wireless weather station so i can get an idea what would be in store.I purchased one on ebay for around $115 AU and when it arrived, eagerly set about installing it. A few things i had to consider before installation, some height was needed, it only comes with a 700mm pole so it was either on the pagola roof or another pole in the ground. But i decided to incorporate it into my existing wishing well, the height was ok, plenty of open space for the rain gauge, the only problem was the temperature gauge which is recommended to be shielded or in shade for correct temp reading. Well i had the shade under the roof of the well, so thats where i fitted the temp and air pressure gauge.The information unit which is inside the house, displays all the information needed for any would be weather buff. It really is an amazing little set up...wind speed, wind direction, rainfall, air pressure, inside temp, outside temp, inside and outside humidity, weather tendency feature looks ahead on all gathered info and displays the weather tendency for the next 24 hours or so. The unit is also capable for computer connection to store and compare weather stats collected and also has the time and date! 4 AA batteries ( 2 in outside unit 2 inside) run the wireless side of things....no worries about running wires everywhere, just a few simple connections on the outdoor unit on setup and thats it. The inside unit is touch screen for easy setup, of which most are already set.


 The new cabinets had to be assembled, this was a breeze, soon it was beginning to take shape.
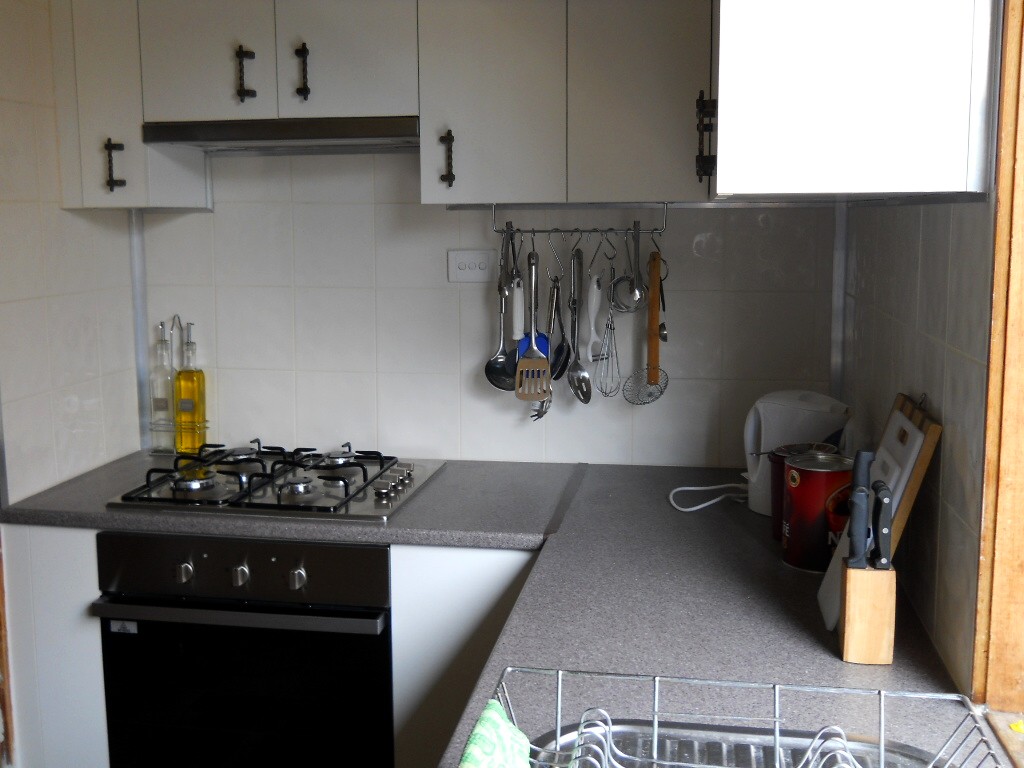
 Installing was also a breeze, just being sure everything was level. A Real problem with the old kitchen was the sink location....wrong sink, for the wrong cupboard and jammed away in the the corner...not very user friendly! So i repositioned the sink to a more central location...bought some flexible pipe extentions and moved the waste pipe. Also in this upgrade was the replacement of the gas stove with an electric under bench oven with gas cooktop and also a slide out rangehood .time to get the plumber! The stove was disconnected and removed so i could install remaining cabinets. Once the plumber reconnected the gas, and oven was installed it was time for the tiling.
 Cement sheets were attached to the wall, and i set about cutting and fitting tiles. Had a few tricky power points, but with a hand cutter that fits into a hacksaw, everything went to plan. Once tiles were up they were grouted and silicon used on the expansion gaps (corners etc) To finish off i used aluminium angle in the corners and under the overhead cabinets, just for something a little different. Handles were used from the old kitchen and gave the modern a little country feel. Happy days :)